How to Trap Coyotes: The Basic Gear and Skills You Need to Get Started
Here's our ultimate guide on how to get started trapping coyotes
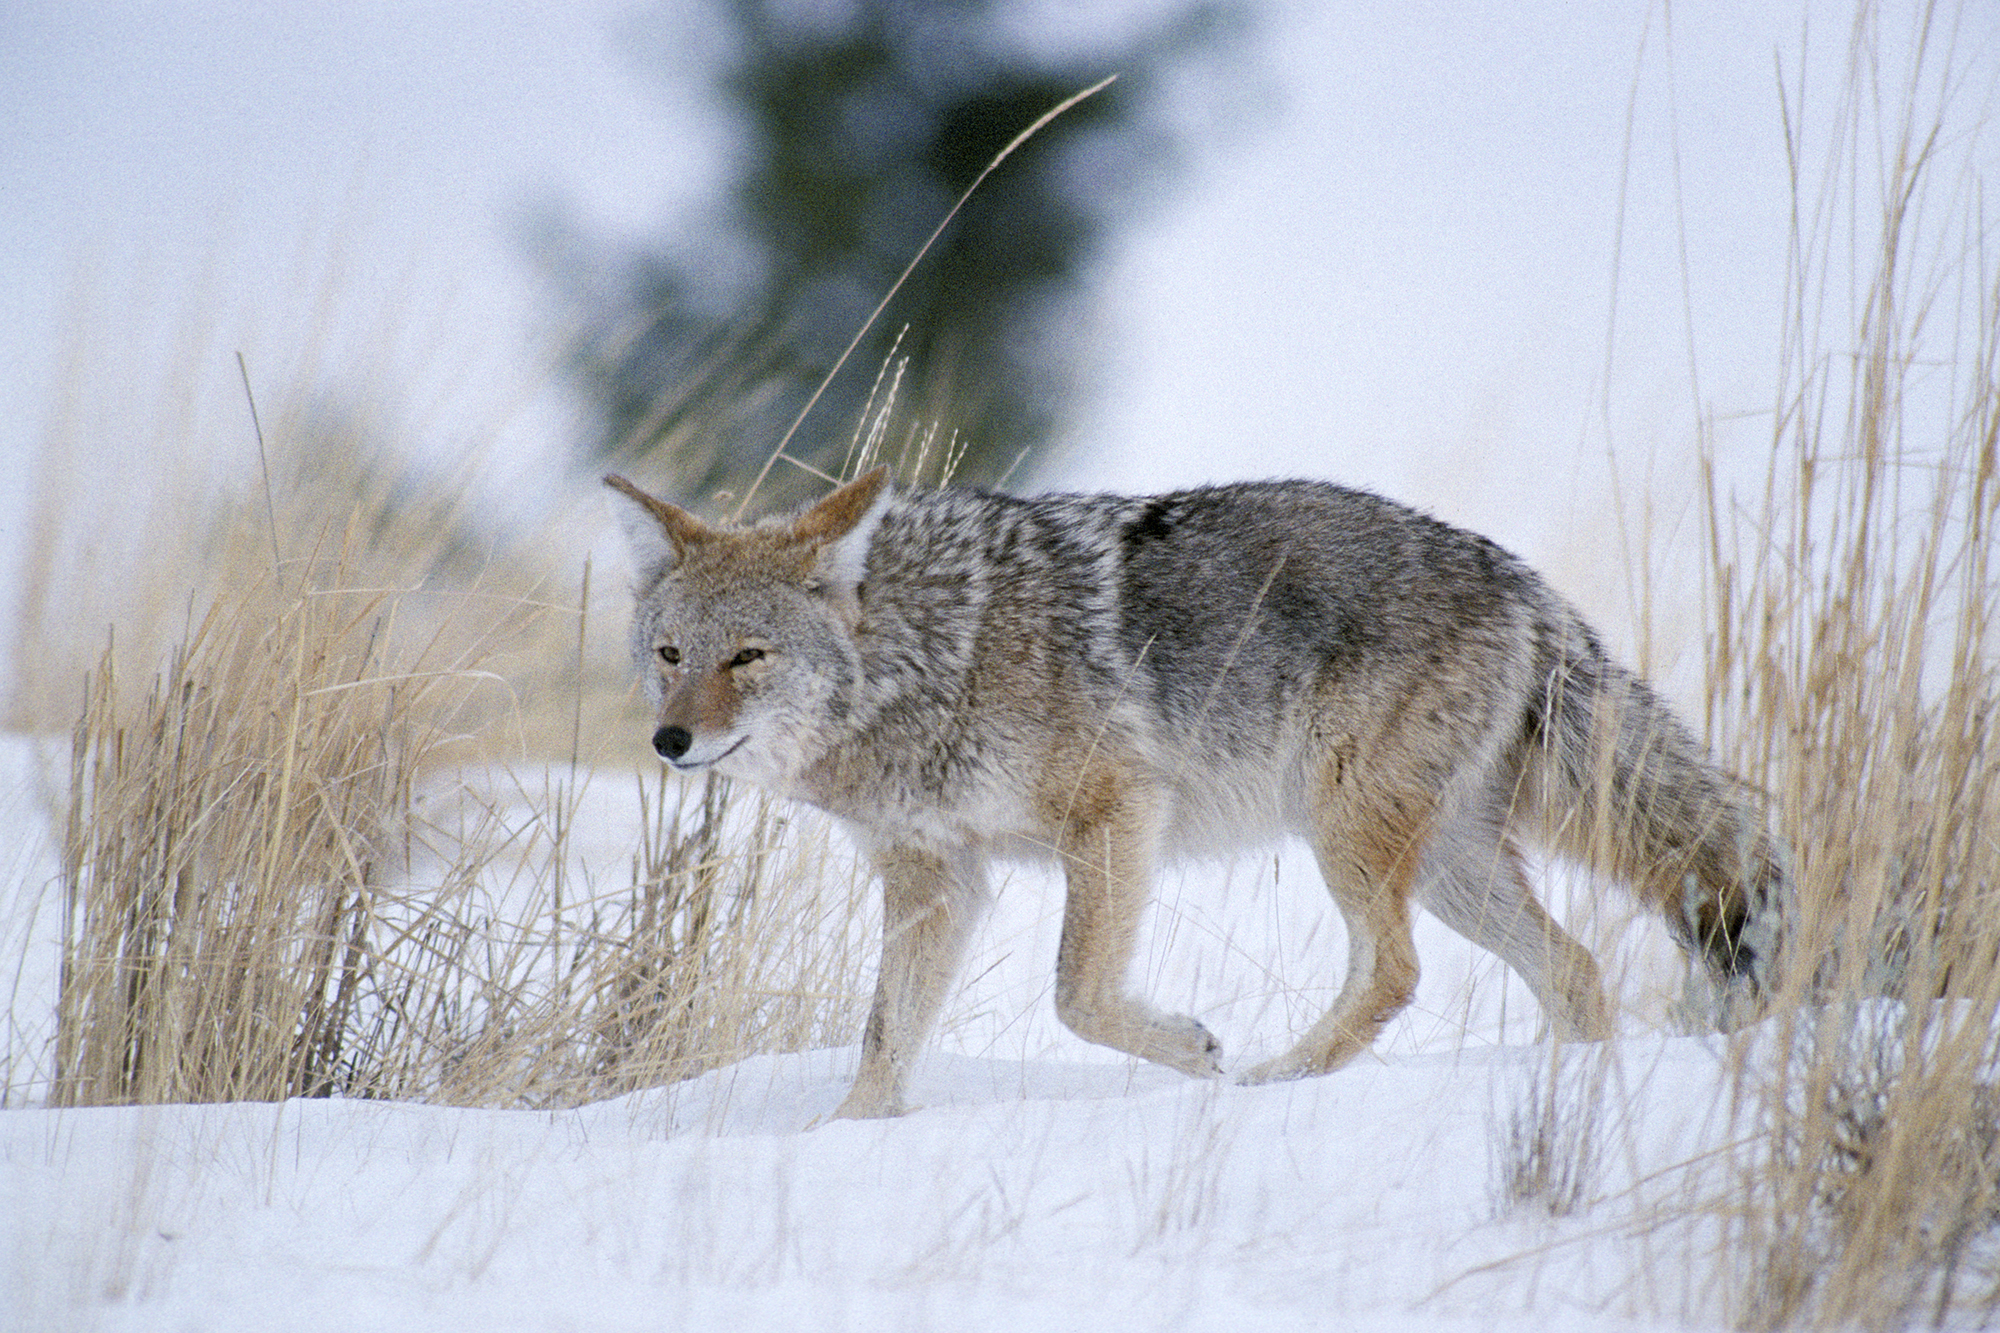
If you spend time outdoors, you’ve probably encountered coyotes howling after sunset, slinking along the edge of your yard, or running whitetails on your deer property. As a clever scavenger and effective predator, coyotes are not prey for many other species. Their hardiness ensures that they can survive and thrive easily in a wide variety of landscapes. In fact, coyotes are found in every U.S. state except Hawaii. When coyote populations get too high, natural methods of population control include starvation and disease.
Humans can play an important role in predator management by engaging in the most practical and effective predator management tool we have: modern trapping. Trapping has evolved quite a bit since our forefathers first set out for beaver in the 1800s. Through the engagement of Best Management Practices, or “BMPs,” we now use modern traps that have been studied by researchers, biologists, and veterinarians and deemed ethical, humane, and safe for furbearer harvest. You can legally trap for a variety of furbearers, but here we’ll focus only on how to trap coyotes, plus the basic gear and tactics needed to catch these clever critters. We’ll cover:
- Trapper education
- Trapping gear
- Anchoring methods
- Attractants
- Prepping Traps
- Making Sets
- Trapping Tips
Trapper Education
Before discussing any of the logistics or details about trapping coyotes, here’s the best piece of advice I can offer: If you want to learn to trap any furbearer, your best bet is to complete an in-person, hands-on trapper education course. Some states, such as Wisconsin, required completion of a 12-hour course prior to becoming a licensed trapper. Many states have more relaxed regulations and do not require any type of trapper education course. But even if it is not a requirement in your state, or even if your state has an online option, I highly encourage you to complete the in-person trapper education course in your area. You will get firsthand, extensive trapping knowledge from experienced, veteran trappers who will be able to demonstrate complicated methods and answer all your questions. You will avoid making many mistakes on your own trapline if you are able to complete a trapper education course before setting a single trap. In other words, you will be much more successful at trapping in the long run.
Coyote Trapping Gear
Ask any two trappers what gear you need to trap coyotes, and you will get two different answers every time. I will highlight the basics of what you “need” to get started, but keep in mind that substitutions, omissions, and additions are always an option depending on how you want your trapline to look—and where you’re trapping. That’s because your list of required supplies will also depend on your state’s regulations. As you read this article, keep in mind that every state has a unique set of trapping regulations for how to trap coyotes. For example, what is legal in Wisconsin, where I trap, may not be legal where you live, or vice versa. Fortunately, there are plenty of trapping suppliers working across the country, and you should be able to find someone locally or an online supplier in your state.
The basic equipment a beginner needs to trap coyotes is a foothold trap, an anchoring device, a hammer, a pan cover, a sifter, and some type of bait, scent, or lure. As you become more experienced at trapping, you’ll learn that some of these items won’t always be necessary—such as the sifter for pre-sifting dirt, or a scent if you make blind sets. But those scenarios are for more advanced trapping discussions; for now, add all of these items to your list.
Your trap preference will vary depending on your budget. I personally use fully modified traps when setting traps for coyotes. “Fully modified” means the trap has extra features that ensure the animal’s comfort and are more humane in case you catch something unintentional or out of season, like a pet dog or a fox. These extra features may increase the price of the trap, but it’s more important that the trap is as humane as possible rather than saving a couple bucks.
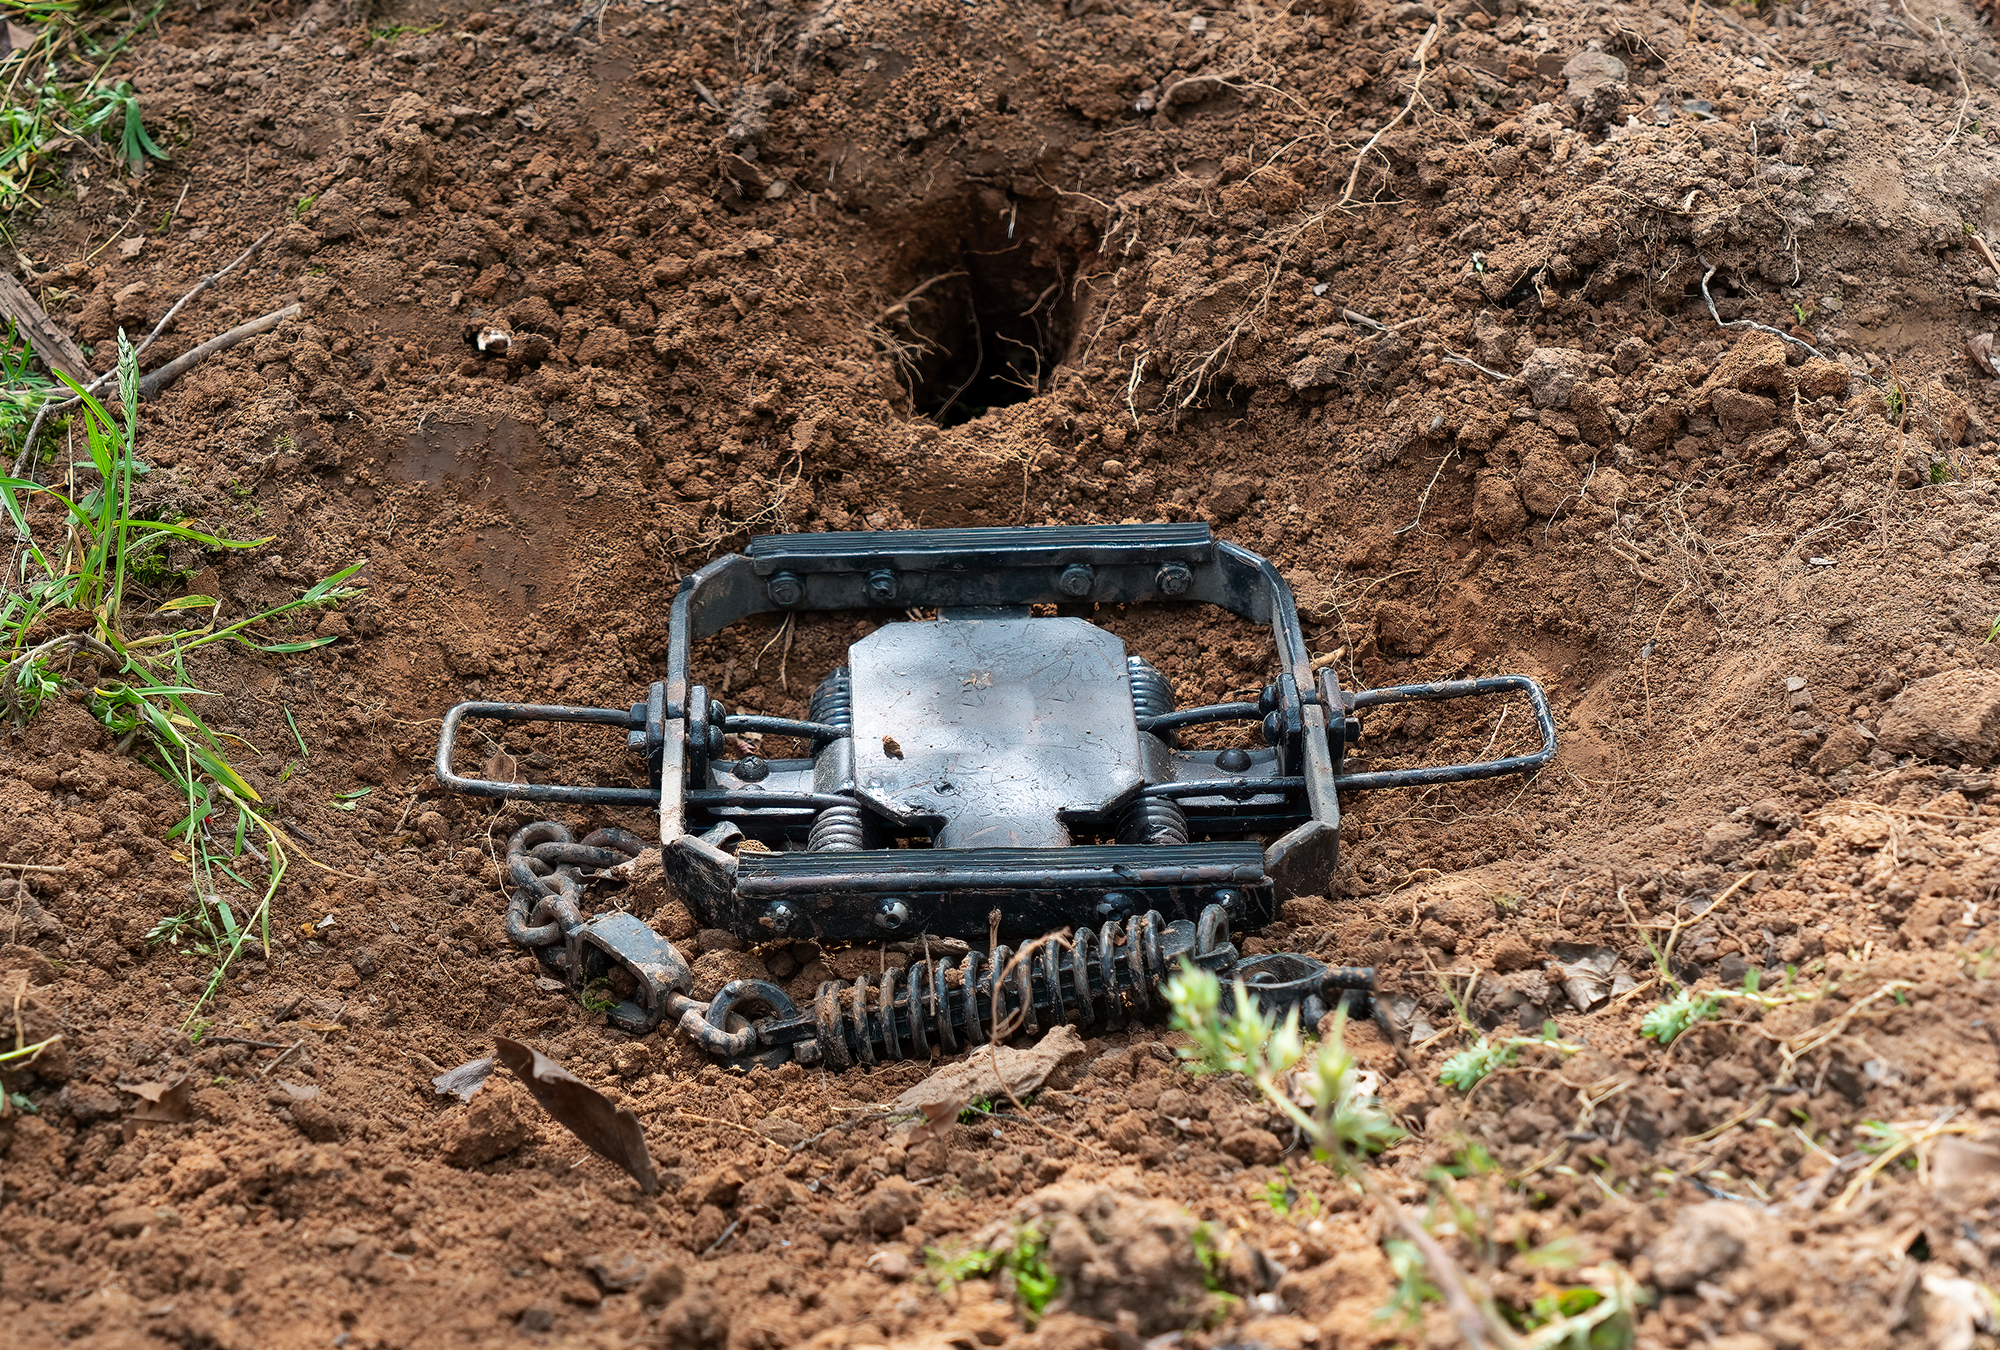
A fully modified trap has offset jaws, a center-swiveled base plate, and laminations. Offset jaws create a gap where the two jaws of the trap close to catch the paw. Metal doesn’t touch metal, allowing blood to continue circulating in the critter’s paw. This is similar to a pair of handcuffs. A center-swiveled base plate means the chain is welded to the bottom of the trap in the center and with a swivel, so the animal can spin freely. A less accommodating chain could cause the coyote to pull left or right, which could potentially cause injury. Laminations are extra brackets welded onto the jaws of the trap to increase the surface area against the paw. Without laminations, a metal edge can cause damage to the fur or skin. (This might all sound confusing now, but once you’re introduced to these features, you’ll understand why each modification is important.)
There are many traps that include most of these modifications. Some of the brands and sizes of traps I recommend are:
- Bridger #2 fully-modified dogged or dogless
- Minnesota Brand 450s and 550s
- Duke 550s
- K-9 X-treme JR
There are plenty of other brands that have stood the test of time, but these are the mainstream brands that you should be able to find easily at any trapping supplier. My recommendation is that you stay away from buying the closed-jaw, side-chained traps that are sold at most big box stores. These traps are not modified to withstand the power of a coyote, and they are not humane enough to ensure no harm to the animal. Due to the lack of modification, these traps will also not last in the long run and parts will bend, break, and render the trap useless. So don’t waste your money on cheap box-store-bought traps for coyotes.
Anchoring Methods
After you decide what trap to use, you must choose a way to anchor it. Anchoring ensures that once you catch the animal, it doesn’t run off with your trap.
There are several ways to anchor a foothold trap for coyotes: cross-staking rebar, earth anchor disposable stakes, or drags. Cross-staking rebar is an older method that requires pounding two strong pieces of rebar (at least 24 inches long) into the ground in an X configuration. Such stakes are heavy to carry if you’re setting traps far from your vehicle, and pounding into frozen ground will be a lot of work. On the upside, rebar can be used as an anchor over and over again, and doesn’t require any tools to set except a good hammer.
Another option, and what I use for half of my coyote sets, is an earth anchor. Earth anchors, which are made of chain or cable, are considered disposable since they remain underground once set. But they can actually be used many times depending on the quality of chain or cable you use. You need a special driver to pound the head of the anchor into the ground. Once you remove the driver, pull on the anchor and its head will flip parallel to the ground, securing your trap.
Another option for anchoring your trap is called a drag. Drags can be bought or homemade, and they’re basically a grapple-hooking system on a long chain. When rigged correctly, a coyote will get caught, then pull the trap, chain, and grapple out of the trap bed and into the closest cover, usually 20 to 60 yards from your set. This is a benefit to both the trapper and the coyote because once in cover, the animal relaxes and doesn’t fight the equipment as much. (It also reduces the chance that someone, possibly a non-trapper on public land, from spotting the trapped coyote.) The drag also prevents the trapped coyote from tearing up your original trap location, which makes resetting the trap much easier.
Drags can be complicated to use for a beginner, especially if there is a heavy snowfall that covers the trapped-coyote’s tracks, or in rocky terrain where the animal can go a long ways before getting caught in debris. Plus, if you catch a bobcat or raccoon instead, they tend to climb a tree with the trap, which usually makes recovery harder.
No matter what type of anchoring system you decide on, make sure that it is strong enough to hold the biggest animal you can catch. A study of Western coyotes once measured that a trapped coyote in a foothold can generate up to 400 pounds of force. When purchasing equipment and using anchoring devices, make sure that you will be able to hold a strong coyote. If there are bigger predators—like wolves or bears in your area—you need to purchase a trap that can hold those animals so you can release them safely. Otherwise they will tear your trap loose and disappear with it.
A good, heavy hammer is also a must to set a coyote trap. Trappers can carry a separate shovel or spade for digging, or you can invest in a tool that has a hammer head on one side, a digging spade on the other, and a hole punch. Visit a trapping supplier so you can pick up the different hammers and tools and decide which is right for you. (Remember: If you decide to use earth anchors, you’ll need a driver.)
A pan is the small square of metal that the coyote will step on to fire the trap underground, and the pan cover goes over it. The space under the pan has to be free and clear of dirt and other debris so that when the coyote steps on the pan, it moves down and fires the trap. If this area is packed with dirt, the trap won’t work. Pan covers can include wax paper, cloth, and metal screens, poly-fil under the pan, or—in a pinch—even a big leaf.
You’ll also want to get a sifter, which is a box with a metal screen. You use it to sift dirt over your trap, ensuring that no rocks or big chunks of debris settle on top of it. (If a rock lodges between the jaws of your trap when it fires, then you won’t catch any coyotes.) You can make a sifter at home with wood and a screen, but they are also fairly cheap to buy. Once you become more experienced, you can pre-sift dirt before the season begins and keep it all in a bucket, that way you don’t need to bring a sifter out into the field, because the dirt you are using to cover your trap will be free of debris.
Finally, I recommend getting something to carry all this gear. You can buy special trapping bags, but a tool box, bucket, or other carry-all will work fine.
Attractants
The last essential for completing a coyote set is some type of attractant. This can be bait, urine, lure, or any scent that will attract a coyote to that exact spot to make it step on your buried trap. There are hundreds of bait makers who sell concoctions of beaver castor, skunk essence, ground-up mice, and other key ingredients that have stood the test of time when it comes to catching coyotes. Bait can also be homemade using a meat grinder and a few simple ingredients. (If all else fails, kill a mouse around the barn or use scraps from a deer carcass.) Bait isn’t the only attractant that can be used though. A simple shot of fox urine near your trap is enough to entice the coyote to check the location out. I personally use three or four different attractants (like a food, gland, and curiosity scent) at each trap to ensure that any coyote that walks by will investigate.
Prepping Traps
Experienced trappers have widely-varying opinions when it comes to preparing traps. Personally, all I do is spray paint them. Every summer, I put all my coyote sets on the garage floor and give them a light coat of Rust-Oleum (the color doesn’t matter since they are buried underground) then hang them outside until the season starts.
Others trappers swear by dying and waxing their traps like the old timers used to do. Traps can be dyed using sumac, leaf, or logwood dye, or dipped with commercially-available products like Full Metal Jacket. Waxing is an additional step where trappers boil water, add a bar of unscented wax, and dip each trap. The idea is that a thin coat of wax prevents rust and helps with scent control.
Some trappers swear that scent control is critical for catching coyotes. Others believe you cannot fool a coyote’s nose no matter how hard you try, so don’t worry about keeping everything free of human scent. I recommend following whichever school of thought makes you feel most confident—because confidence is critical for successful on the trapline.
Before you head into the field, make sure all your traps are functioning properly. All attachment points—such as J-hooks or quick links—should close tightly and all swivels should work freely. Finally, ensure that each trap is tagged according to your state laws.
Making Sets
Now that you have all your gear, you’ve studied your state’s trapping regulations, and your traps are ready to go, it’s time to make a coyote set. Choosing the location for sets can be overwhelming for a first-time trapper. To make it easier, use trail cameras, a fresh blanket of snow, and even your dog to help you find the best locations to set traps. Trail cameras and tracks in new snow will tell you a lot about how coyotes are using the area, and your dog can, too.
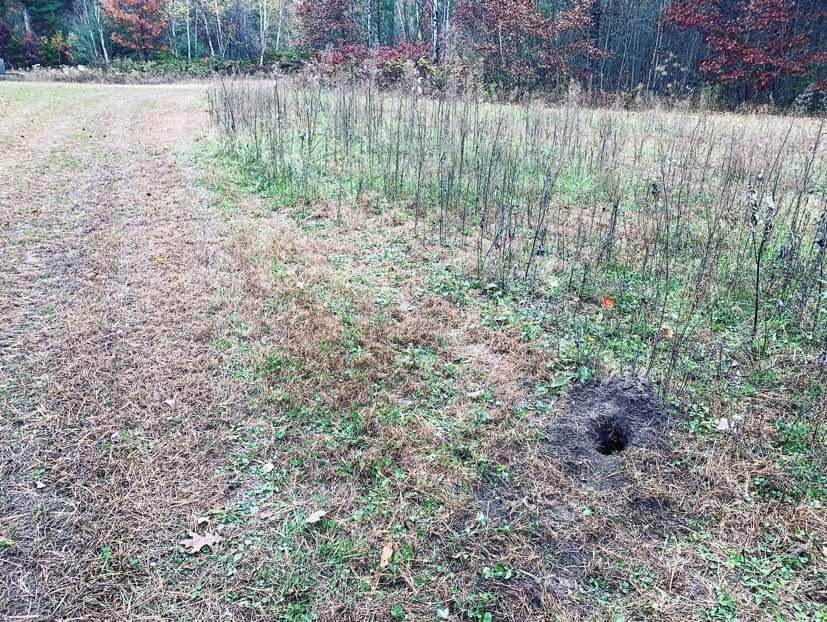
Coyotes tend to hug edges of fields and mark at intersections of trails. They urinate and defecate with purpose: Their marking locations are not random, and they put their scent in specific spots to let other coyotes know they’re around. (Your dog will also notice them, too.) Think of these locations, which you’ll learn to identify more easily over time, the way your dog thinks about fire hydrants. These are the locations where you want to put your traps.
The Dirthole Trap
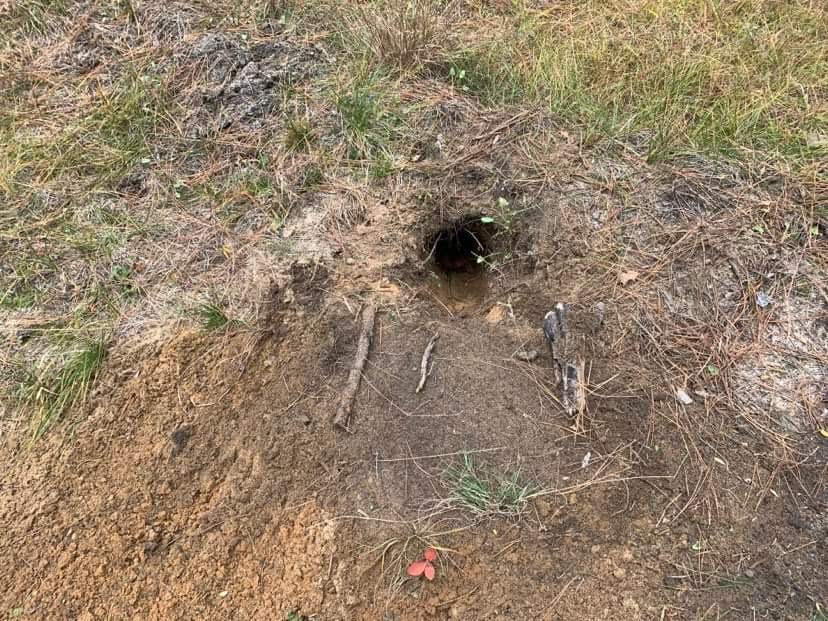
Many states have laws that require your coyote bait to be invisible from above, to avoid catching birds of prey. That’s why the dirthole set is one of the most popular ways to catch coyotes. I use dirthole sets for 90 percent of my coyote traps. They are quick, easy, and foolproof. The dirthole set can be modified in many ways, and through researching dirthole sets, you’ll find different variations, including the trench set, gang set, hay set, compass set, and so on. They all have the same basic principal: bury your trap next to a scented hole in ground.
Many trappers make the hole at a 45-degree angle using an auger on a drill, but you can dig yours by hand or with a spade. The trap is bedded in front of the hole, roughly nine inches from the entrance and 1 to 2 inches to the right. I usually put some rotting meat and another lure in the hole, then I strategically places sticks to help shape the coyote’s approach. A coyote won’t want to step on the sticks, and will be more likely to step right on the dirt spot where the pan is buried.
Once I set a trap, I check it daily or twice daily until I catch something or remove the set. (Most, if not all, states require you to check your traps daily—more on this later.) In a good spot, I will catch a coyote on the third day. If I haven’t caught anything, I typically inspect the bait or the trap itself anywhere from two weeks to a month after setting it. In heavily pressured areas, I may need to wait up to a month for coyotes to circle back through to my set location. So don’t give up if you don’t see immediate success: Patience is important for trapping coyote.
Set Your Traps on Coyote Sign
While patience is critical, you also can’t catch a coyote where there are no coyotes. This brings me to the best piece of advice I can give you: You must set a coyote trap on coyote sign.
Read Next: How to Hunt Coyotes
Every beginner trapper makes the mistake of setting in an area where they saw a coyote track last year, or somewhere that just seems like a good spot. Don’t make that mistake. Unless you see a fresh track, a fresh pile of scat, or you saw a coyote nearby with your own eyes, you could be waiting months for coyotes to come through an area. Coyotes travel differently each year depending on their populations, crop plantings, logging operations, snow depth, and deer movement. Some of my best coyote properties only produce on years when corn is planted in the fields. Corn attracts more turkeys, rabbits, squirrels, and mice—and therefore coyotes. On years when only hay is planted in those same fields, I might only see one coyote track in the space of two months.
How to Trap Coyotes: Quick Tips
Tips and strategies for how to trap coyotes largely depend on your location, but here are some basic tips, in no particular order, that will improve your odds of success—no matter where you trap.
- Bed your traps firmly. Firmly bedding your trap means that when you first set the trap in the ground, you pack dirt around the entire perimeter of the jaw so that the trap does not wiggle whatsoever. If the trap wiggles under the ground, coyotes and other animals will be very curious about the void under their feet, and they will start carefully digging, eventually flipping over the trap without setting it off.
- Quality is better than quantity. If you have two very firmly bedded, good quality sets in a good location, you will catch many more coyotes than if you have 5 to 10 poorly-made sets.
- Find the best info available. I strongly suggest reading trapping books and old magazines instead of only relying on information from questionable internet sources. (The book that got me started was “Hoof Beats of a Wolfer” by L. Craig O’Gorman, though it can be difficult to find since it’s out of print.) Unfortunately, anyone can type or record anything and post it to YouTube. (Don’t worry, this article is reputable—Outdoor Life has been around for more than 100 years.) I’ve been watching new videos and channels on trapping, and more than a few of the new “big name” trappers are putting out inaccurate and irresponsible information. Reverting to tried-and-true methods of information will help you be much more successful: Read a book, take a trapper education class, or find YouTube videos from the folks who teach trapper education classes.
- Choose smart trapping locations away from the public eye. Trailheads are very popular places for predators to frequent because people often dump garbage or animal carcasses nearby, or they bring pets who mark as soon as they jump out of the vehicle. These congregation areas will often have many tracks and scat from coyotes and fox, but setting traps in these high traffic areas will only lead to conflict with the public and a rise in anti-trapping sentiment. Trappers must take the high road and refrain from setting in high-traffic areas so you don’t trap domestic animals like dogs, but also so the public doesn’t witness a trapped animal when they aren’t expecting it. My biggest fear about catching a domestic animal like a dog is not that the trap would hurt it—I use humane traps—but that a coyote might get there before I do. If a pack of coyotes happens on the set between daily trap checks, that domestic animal doesn’t have a chance. That would be devastating for both the trapper and the owner. So minimize this possibility by trapping in responsible locations.
- Check your traps often. Most states have a 24-hour check rule, meaning you must check your traps daily, but I suggest checking your traps once in the morning and once in the afternoon if you’re able. This is an especially good practice in public areas or in cold weather to be sure you haven’t caught anything in the middle of the day. During breeding season, coyotes are often active at high noon and it’s not uncommon to catch coyotes in daylight during their “rut.” Plus, it’s fun to check traps.
- Don’t overthink making your set. It’s a simple task that many new folks spend way too much time worrying about.
- Use very little scent/lure/bait. We often forget that canines have a keen sense of smell, and one of the most common mistakes is using way too much scent. If you use a spoonful of lure at the set, the coyote will smell it from hundreds of yards away. It can satisfy its curiosity about the smell at a distance and, chances are, it will not even come near your trap as a result. I suggest using just a dab of attractant, and burying it deep at the bottom of the dirthole. That way the coyote will catch a faint hint of the smell. This will drive it crazy, and it will spend quite a long time at your set trying to figure it out. The more time it spends at your set, the more likely you are to catch it.
- Be prepared for catching other wildlife when trapping coyotes. Incidentals are any animals that are not coyotes. Though we try to only catch our target animals, often you will also catch animals that are similar to coyotes, including bobcats, raccoons, and skunks. Some of them may be in season, but you should do a little research on basic release methods for all those animals in the event that they aren’t, and have a plan. For example, you may live in a state where you can catch as many coyotes as you want, but must release bobcats. Various release boards or catch poles are most common, and it’s a good idea to add one to your trapping bag.
- Have a plan for what to do after you catch a coyote. Follow your state regulations and dispatch it humanely. You should make the most effort to use as much of the animal as possible. (Coyotes with mange are unusable and should be disposed of properly according to state laws.)

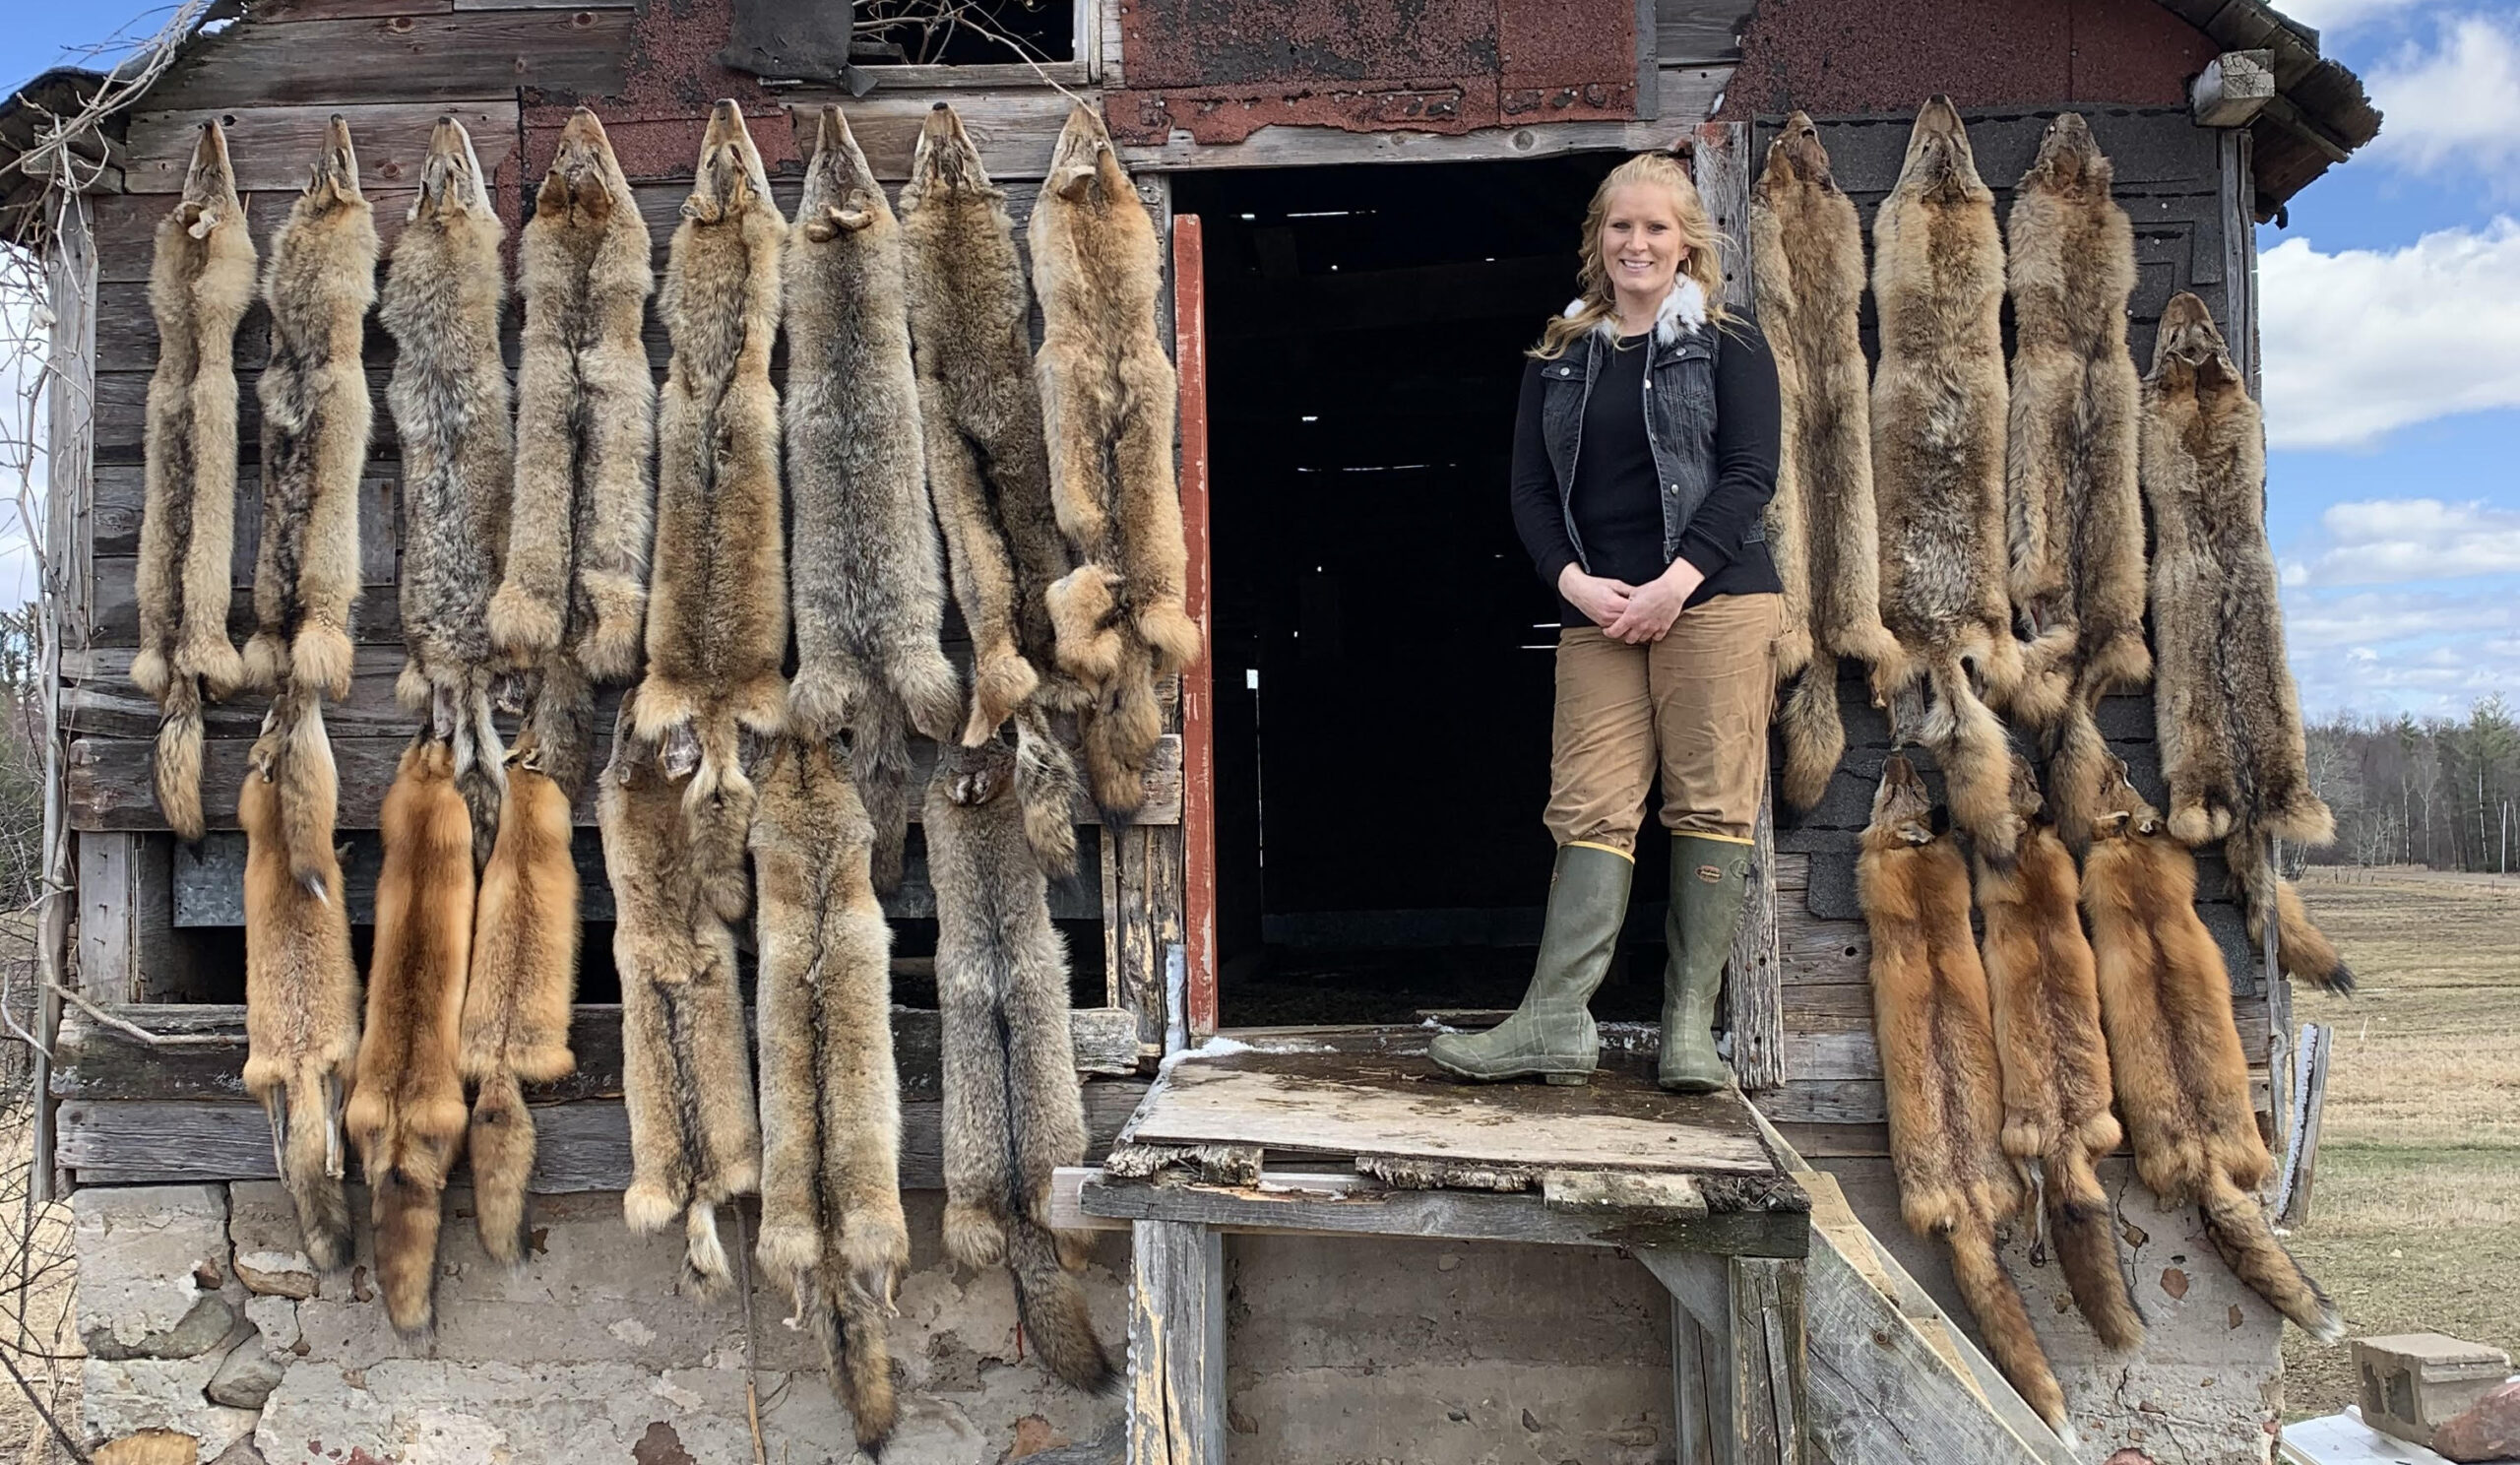
Healthy coyotes can be skinned for the fur, and the glands, urine, teeth, claws, and bones can be used for various purposes. Fur handling is a lengthy discussion for another time, but at the very least, have a plan to skin your catch, then roll it up (fur out) and put it in the freezer, to be sold or tanned at a later time. Like meat, fur is an important natural resource, so understand that your work isn’t over once you catch the animal. The future of trapping depends on it.